

When we look at photos of decks, we often focus on the beauty of the lines, the color of the boards and the aesthetics of the lighting.
However, as with most things, beauty is skin deep.
Unless you are intentional in protecting your deck’s foundation — the sturdy beams and joists supporting the deck boards and railings — your deck won’t last.
In fact, unless you use deck joist tape and other protective measures, your deck’s wooden substructure can begin to rot in less than 10 years.
To make the most of your outdoor living space, protect your deck foundation with these three simple steps: protect, clean, and seal.
1. Protect
The greatest danger to any exterior wood is water damage. Without proper protection, a deck’s wood foundation can start decaying long before the lovely deck boards you see each day.
Most decks start to split and rot around 8-10 years, according to deck builders hired to repair the damage.
When the wood joists and beams used to build your deck are exposed to moisture, they begin to deteriorate. Water may enter through gaps in the deck boards and screws holes.
Once water gets into these spaces, it sits on the wood, causing it to rot and the screws to rust. Damage occurs even faster in hot and humid climates.
Help your deck foundation last as long as your deck boards by using a high-quality flashing tape. Butyl flashing tape is easy to use and simple to apply. It is often applied as a cap to horizontal and vertical surfaces, allowing the wood to breathe.
Additionally, take extra steps to protect the ledger board — the place where your deck attaches to your home.
Easy-to-install, self-adhesive wall flash can keep water out of any gaps between the deck and house. Wall flash is best used during the construction of a new deck and is a small investment with big returns.
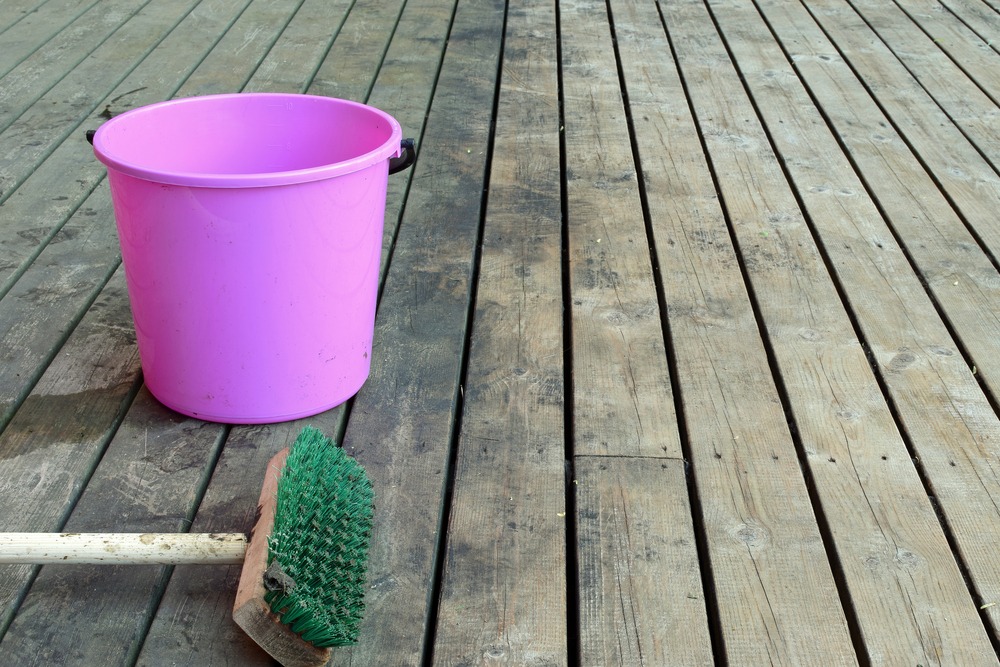
2. Clean
Because moisture is the enemy of your wood deck, you need to regularly clean off any debris that can trap water.
A major culprit of moisture is leaves or other vegetation that remain on the deck boards and can lead to rotting wood.
A scrub brush, water and soap are the simplest solution. A power washer may sometimes be needed, but caution is advised, as its pressure may cause splintering and damage to the wood fibers.
If the wood surface already has some splintering, pressure washing will only make it worse. Composite decking can also be damaged if the pressure is too high.
If you use a power washer take these precautions:
- Hold the nozzle of the power washer at least 2 feet off the ground.
- Use a fan tip attachment/adjustment and soap dispenser.
- Rinse thoroughly. If dirty water from cleaning is left to dry, it will cause a film to remain on the decking surface.
When cleaning with soap and water, use these steps to get a cleaner surface:
- Remove furniture.
- Sweep off any dirt or leaves from your deck.
- Test your cleaner on a small, discreet area to be sure there is no staining.
- Clean with water, soap, and a bristle brush.
- Rinse off completely with a hose to avoid leaving a film.
- Let the deck completely dry before moving furniture back onto the deck.
3. Seal
Once the deck is clean, you’ll want to seal any wood to help the water runoff and not sink into your deck’s foundation.
Wood will eventually crack and split if repeatedly exposed to water. Without protection, the wood is also prone to fungus and mildew growth.
Use a deck preservative — a deck sealer or stain with a clear sealer to cover and protect those top boards.
A sealant is usually clear, while stain colors your wood and gives it a richer look. Deck stains can be semi-translucent or opaque.
Sealant requires regular maintenance, needing to be reapplied as often as annually, depending on foot traffic.
Composite decks, made of wood fibers, plastic and some sort of binding agent, do not need to be sealed.
Here is an easy step-by-step guide to sealing your deck:
- Prep it. Be sure you’ll have temperatures between 50 and 90 °F. The right temperature will ensure the best seal.
- Clean it. Remove both furnishings and debris.
- Sand it. Sanding helps ensure the sealer adequately penetrates the wood. Be sure to clean off any sawdust, even between the cracks.
- Stir it up. Please do not shake the sealer, as that may cause bubbles in the finish.
- Seal it. Use a brush, paint roller or sprayer. Apply a thin coat over a two-to-three-board section. You can always add another thin coat later as it will apply and dry better than one thick coat.
- Dry it. Make sure the deck is completely dry before moving back the furnishings.
These steps, protect, clean and seal, will help protect your deck’s foundation. You made an investment when you decided to build a deck.
Protect that investment so you can enjoy your outdoor living space longer!
Comments are closed.