
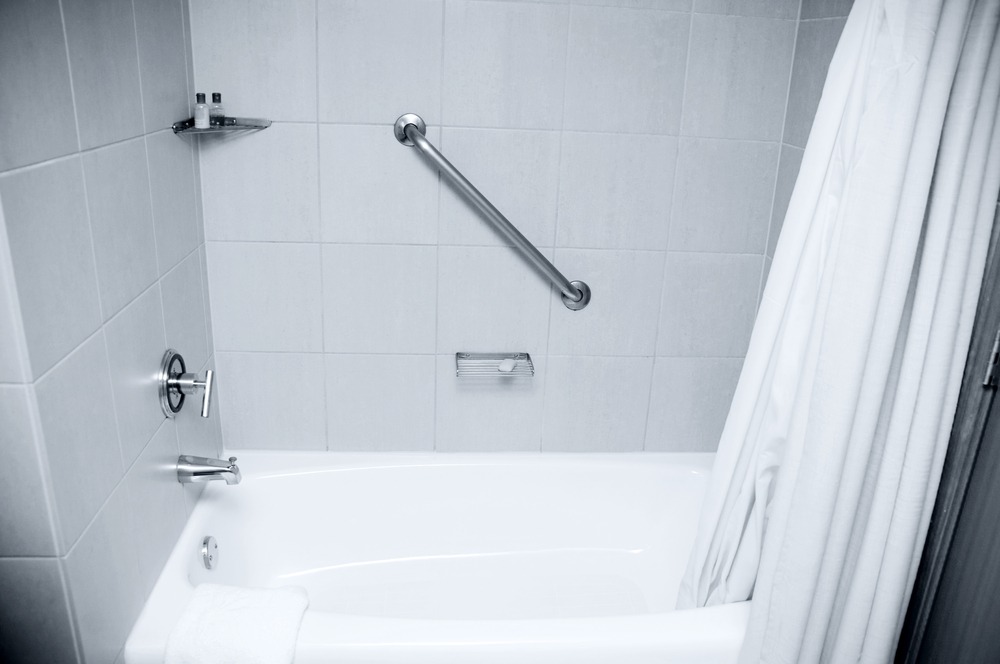
Looking to update your bathroom without breaking the bank?
Repairing tile grout can be an inexpensive way to freshen your space and make a big impact.
Sometimes, grout cracks develop as a result of age or improper tile installation.
It may take some time and effort to fix the grout, but you could save a significant amount of money by doing the job yourself.
Read on to learn how you can repair cracked shower grout in just a few easy steps:
1. Choose Your Grout Type
Grout comes in two primary forms: sanded and unsanded. The type of grout you choose should be based on the width of the tile joints.
Before you begin, measure the space between the tiles. If it is larger than one eighth of an inch, use sanded grout.
However, do not use sanded grout with metal, glass or marble tiles since it can scratch these surfaces and cause damage.
2. Select the Mortar Color
Grout is available in many colors. If possible, take a loose piece of the current grout with you to the hardware store and find the closest color match.
Don’t worry if you cannot get the exact shade — modifications can be made by adding more water to lighten or grout mix to darken.
3. Clean the Shower
Apply a mildewcide to any mold and allow it to penetrate.
Wash the shower with a degreasing cleaner and use a grout brush to remove stains and mildew.
Let the shower dry completely before proceeding to the next step.
4. Remove the Grout
Remove loose, brittle grout from the walls with a grout removal tool or bamboo skewer. Use even, steady motions so that you do not chip the tile.
As best you can, dislodge all of the old material and vacuum the cracks thoroughly to capture any dust left behind.
Always wear eye protection when removing grout.
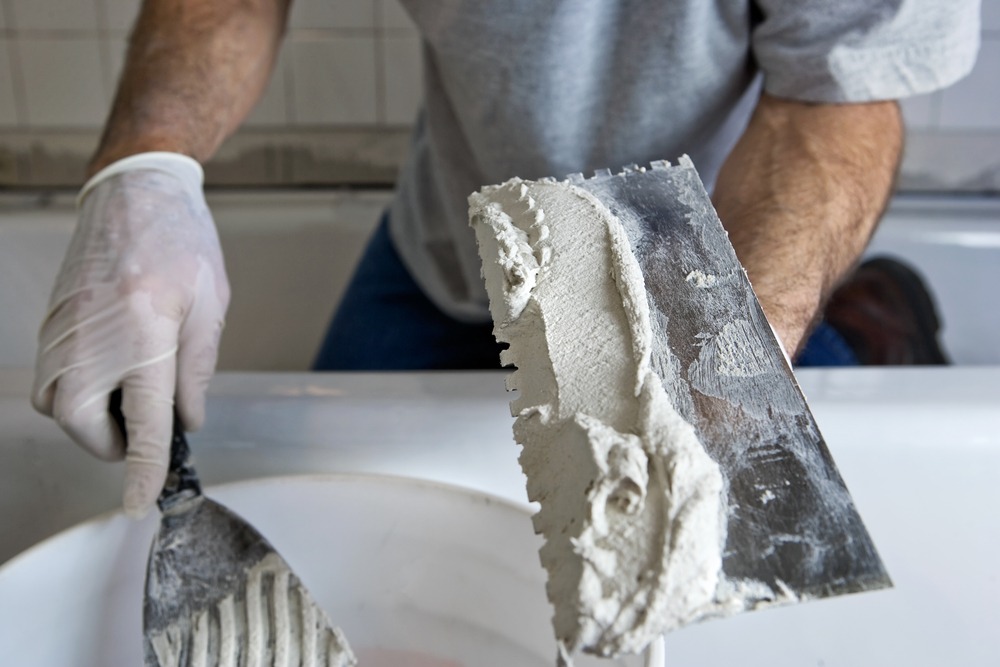
5. Mix the Mortar
Follow the instructions to mix the new grout in a clean bucket.
If needed, adjust the color with additions of water or grout until you attain the desired shade.
Stir the mixture using a mixer attachment or drill until it is smooth and creamy.
6. Apply the New Grout
Scoop some of the grout from the bucket with a small putty knife. Using a sponge, apply a smooth layer between the tiles and wipe any excess with a clean, damp cloth.
Continue this process until you have filled every incomplete line with new grout.
When finished, allow the mortar to dry for the time recommended by the manufacturer.
7. Clean and Coat
With a damp sponge, wipe any dirt or hazy residue from the tiles and smooth every fresh grout line.
Let the shower dry and then coat the new grout with a top-quality sealer to keep water out of the grout lines.
Allow the sealer to cure according to the manufacturer’s instructions before using the shower.
Since grout is porous, it tends to crack and crumble over time with normal wear, especially in older homes that are prone to settling and movement.
With a few tools, you can easily repair cracked grout and make your tiles look new again.
Comments are closed.